Dialora Agency Setup Guide (White-Label Portal)
This guide will help you set up your Dialora Agency account, configure branding, add email SMTP, and create client sub-accounts under your white-label portal.
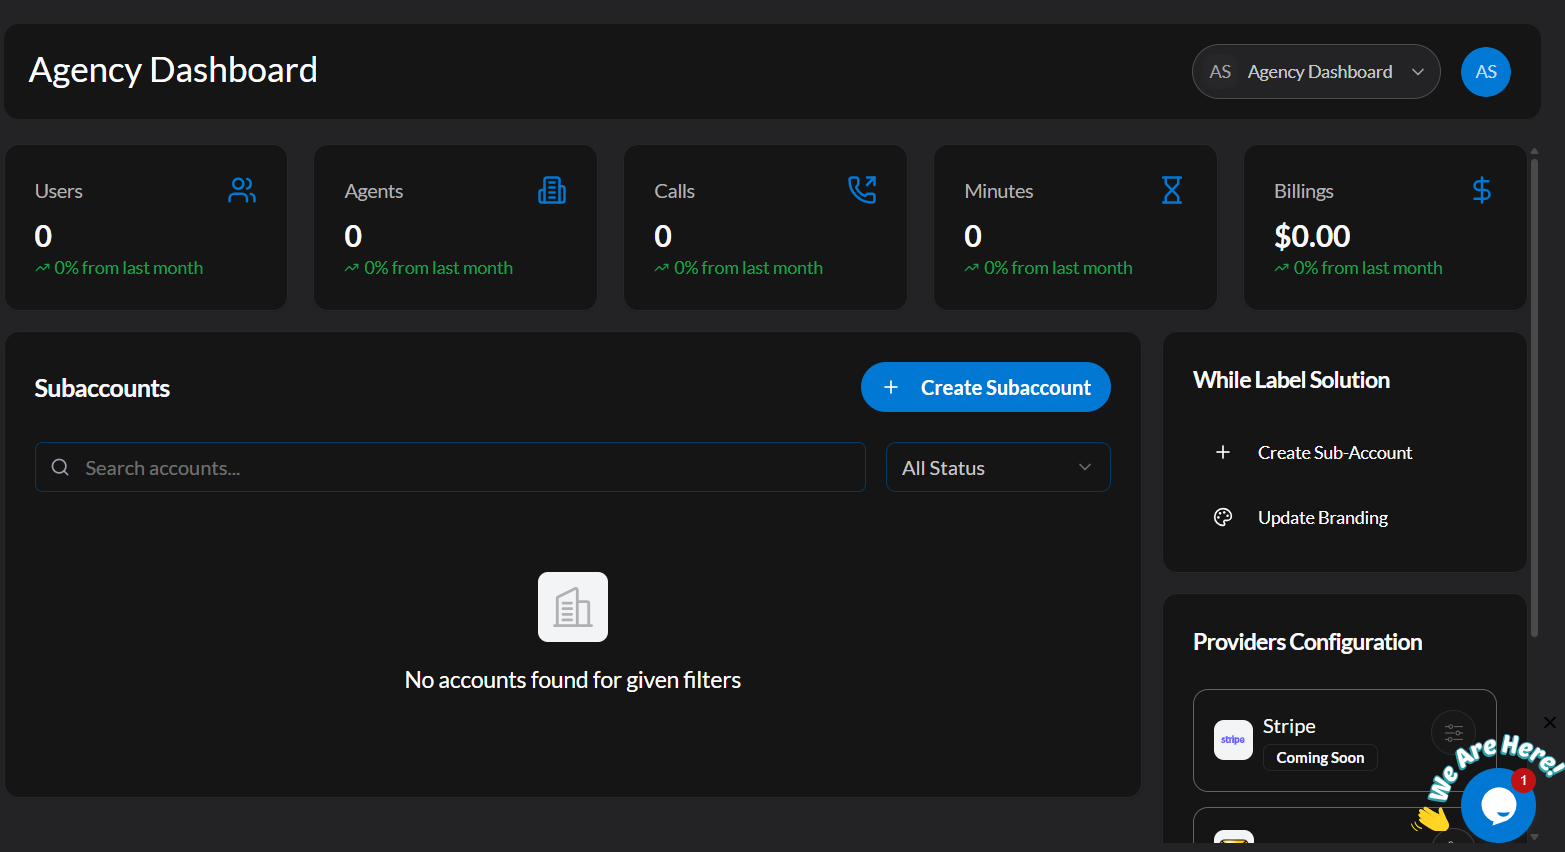
Accessing the Agency Dashboard
- Once you subscribe to the Agency Plan (Tier 3 or Tier 4), a dedicated Agency Dashboard will appear.

- You can switch to it anytime from the dropdown menu at the top left corner of your Dialora account.
Step 1 – Update Branding
Your first task is to white-label the platform with your agency’s identity.
- On the Agency Dashboard, click Update Branding (top right corner).
- In the pop-up window, provide:
- Agency/Company Name
- Brand Logo (follow logo size and pixel ratio guidelines)
- Brand Icon
- Click Save Branding
- Your agency dashboard will now display your brand identity for you and your clients.
Step 2 – Configure Email (SMTP Setup)
This ensures that all client emails (account creation, login details, notifications) are sent from your agency’s domain instead of Dialora’s.
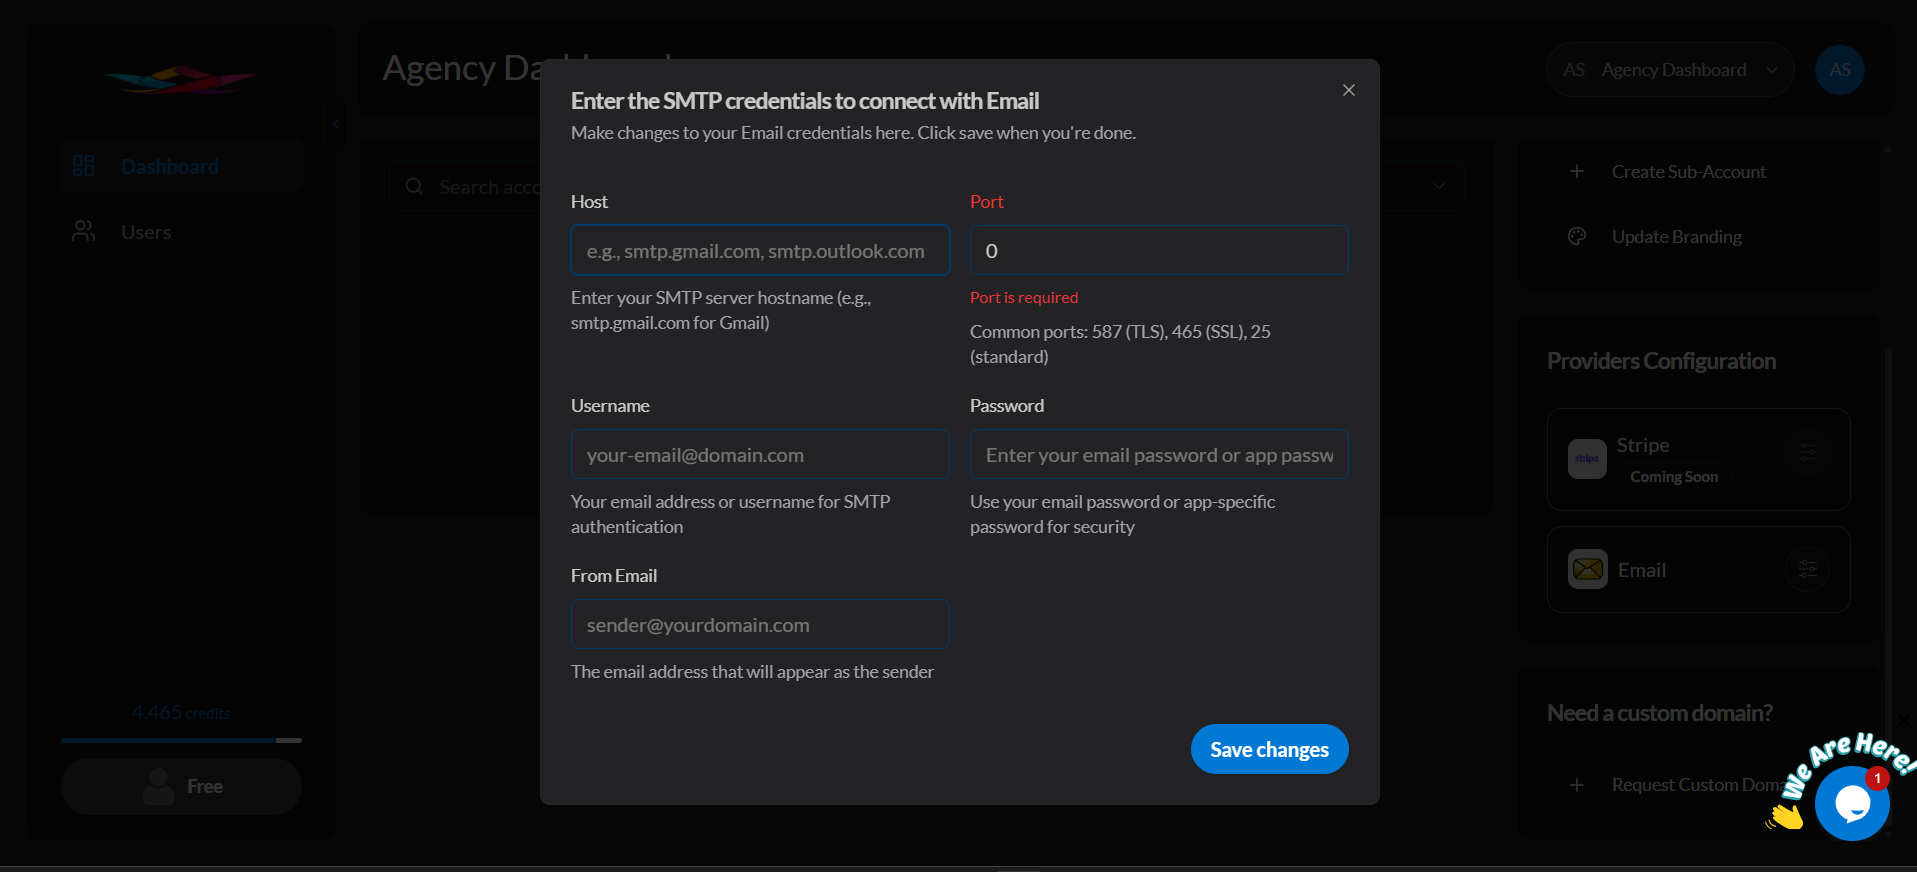
- Go to Email Settings (SMTP) in your agency dashboard.
- Host (e.g., smtp.gmail.com)
- Port (e.g., 465 or 587)
- Username (your email address)
- Password (your email password or app-specific password)
- From Email (the sender address your clients will see)
Supported providers include Gmail, Zoho, Outlook, GoDaddy, Ionos, SendGrid, and more.
Step 3 – Create Client Sub-Accounts
Sub-accounts let you onboard clients under your agency’s white-label system.
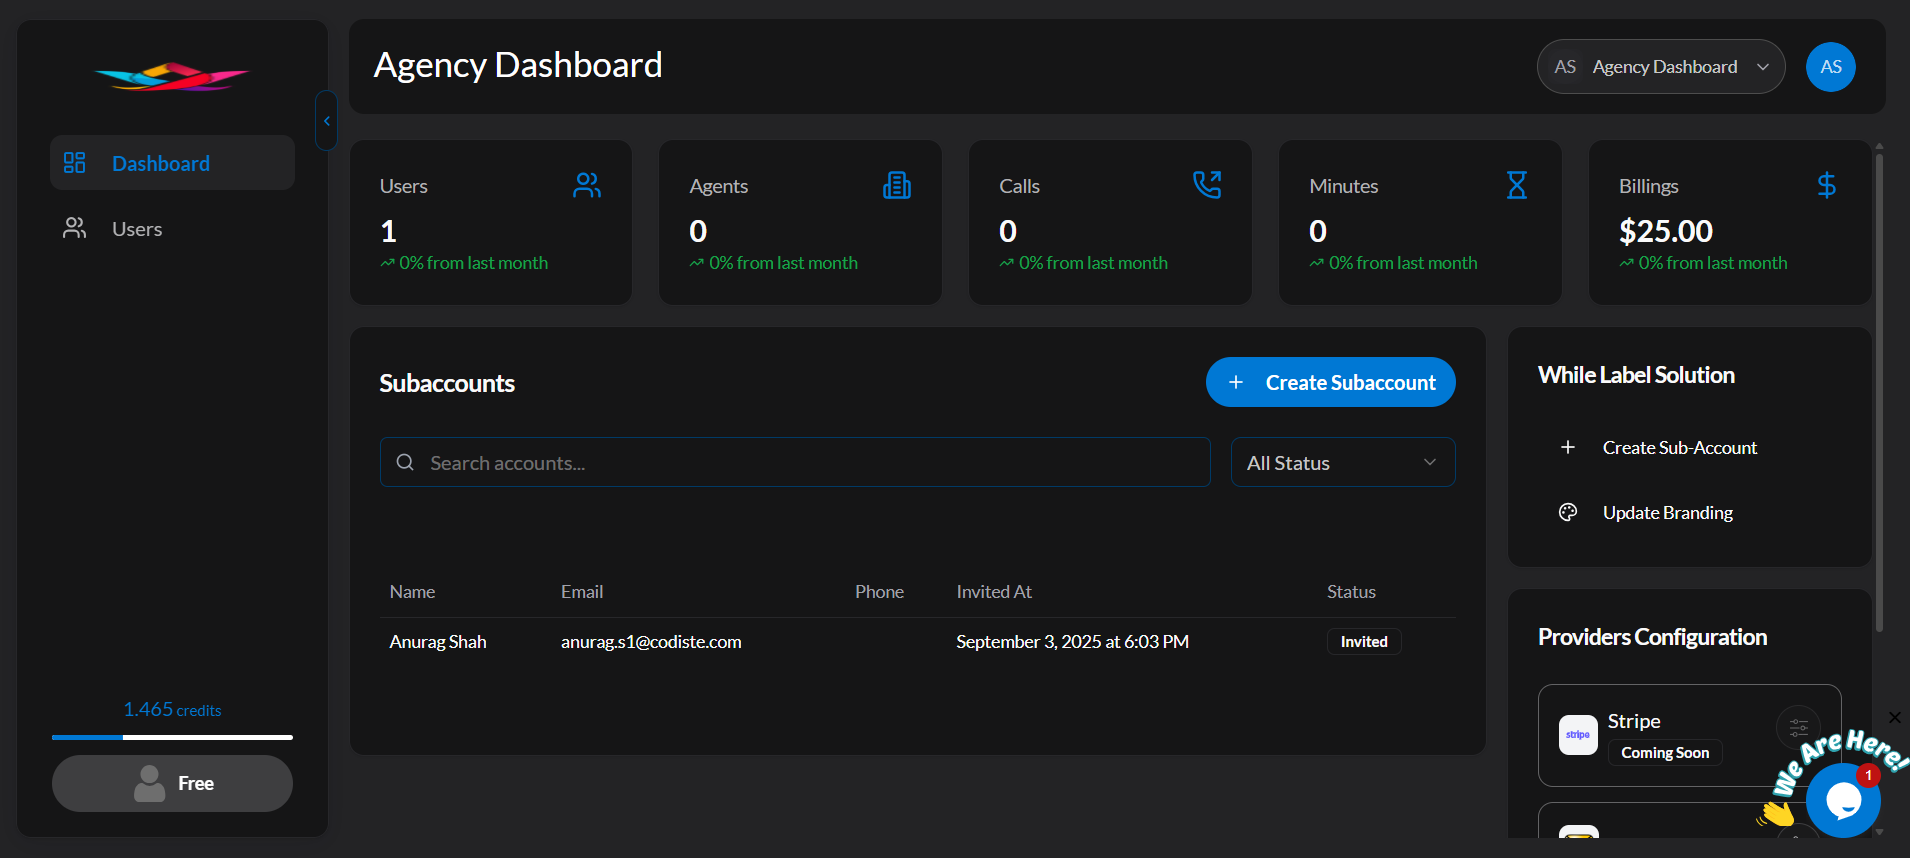
- Click “Sub-Accounts” in the Agency Dashboard (above Update Branding).
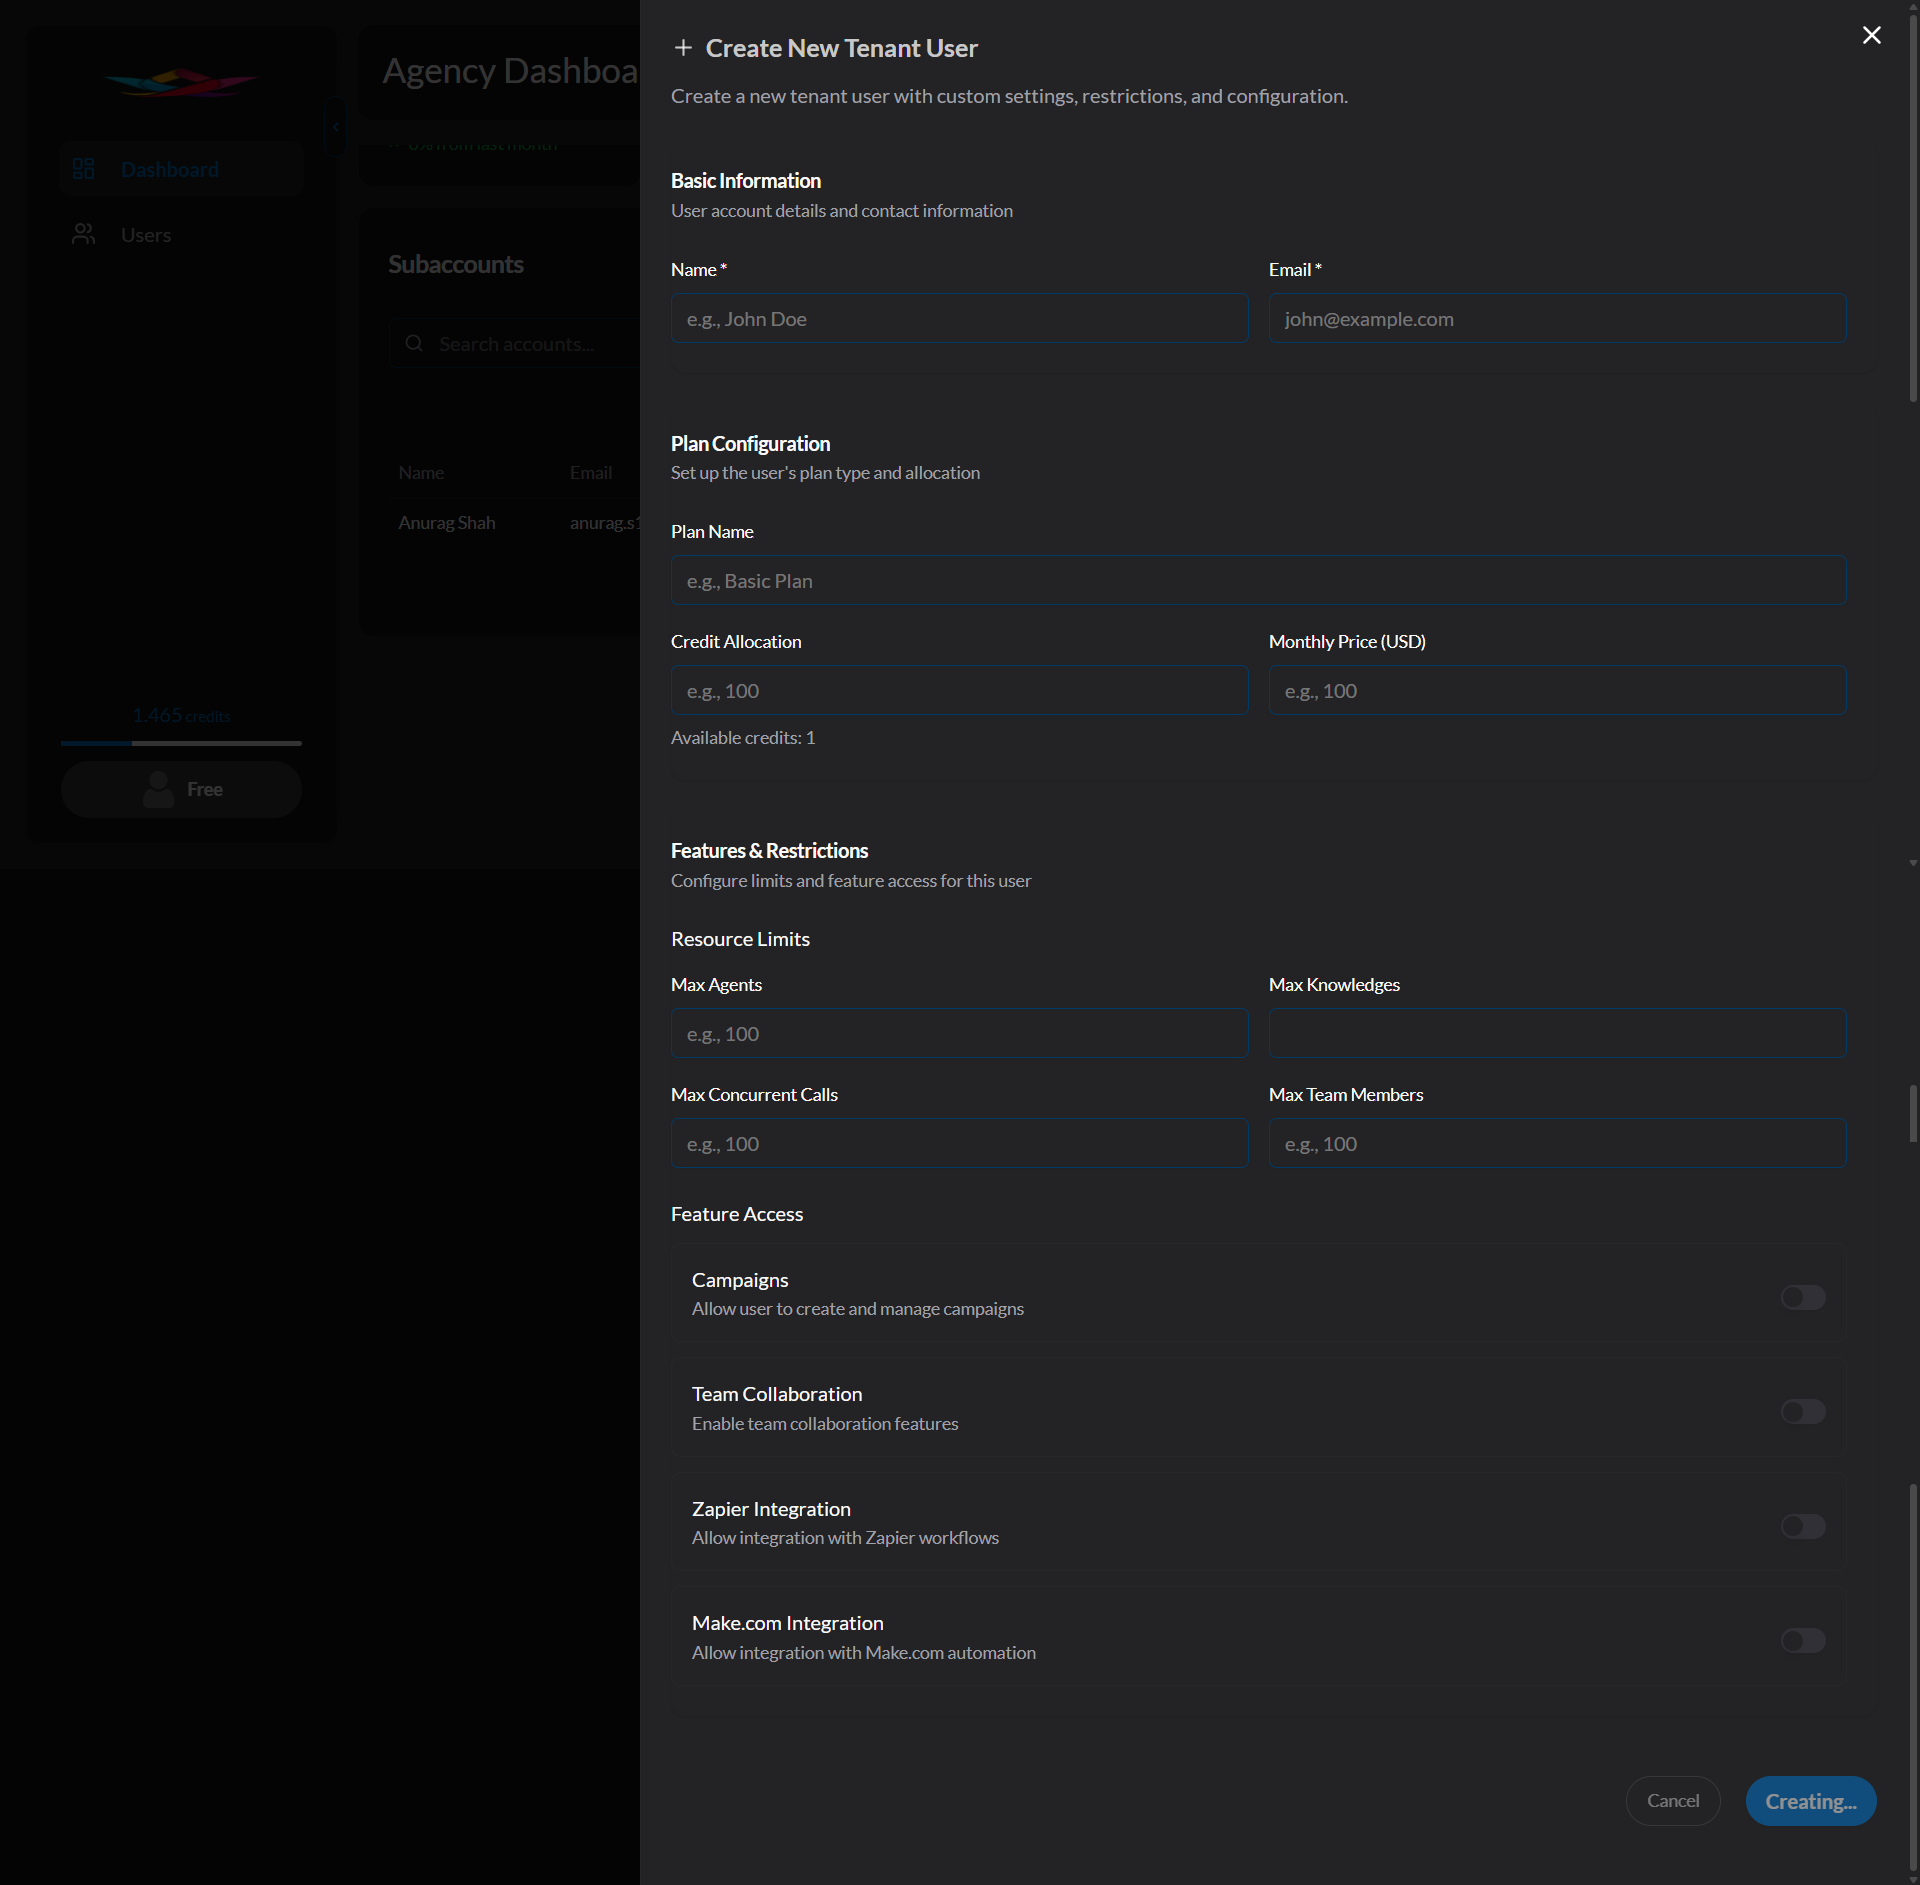
- Select Create Sub-Account.
-
Fill in the client details:
- Client/Business Name
- Plan Name (create a new one)
- Credits Allocation (up to your available limit)
- Resource Limits; As specified below the empty fields (e.g., knowledge base, number of agents, team members, concurrent calls)
- Features Access (toggle on/off: Campaigns, Team Collaboration, Make.com Integrations, Zapier Integrations)
-
Click Create Sub-Account.
-
The client will receive an invite email. Once accepted, they’ll appear under your Shared Workspaces.
Agency vs. Shared Workspaces
- My Workspace → Your agency’s internal space (use for managing your own Dialora agents).
- Shared Workspace → Sub-accounts (your client dashboards). _ From here you can: - Monitor client activity (agents, calls, campaigns). - Block a client (irreversible action).
Step 4 – Manage Custom Plans & Pricing
- While creating a sub-account, you can set custom plan names, allocate credits, and decide pricing.
- Example: Dental Clinic Plan – 1,000 credits, 15 users, $97/month.
- Agencies must handle client invoicing and recurring billing independently (e.g., via Stripe, which will be available soon for the users).
Optional: Request a Custom Domain
To host your agency portal on your own domain:
- Go to Request Custom Domain in Agency Dashboard.
- Submit your domain (e.g., app.growthdriven.com) and request details.
- Dialora’s support team will manually configure the mapping.
- Future versions will support direct self-setup.
OptUser Management
- Block Users: Go to Users → Cancel Subscription. Type “block” to confirm. (This cannot be undone.)
- Monitor Calls: From client sub-account → Call History → Access recordings and transcripts.
- Add Sub-Account Users: Clients can add their own team members under their workspace.
You’re all set! With branding, email, and sub-accounts configured, your Dialora Agency Portal is ready to run as your own white-label platform.