How to Set Up Your First AI Voice Agent
If you’re diving into AI voice agents for the first time and want to create your intelligent calling assistant, Dialora makes it simple. Whether you’re running a clinic, managing customer service, or experimenting with voice workflows, setting up your first voice agent on Dialora is straightforward. This guide walks you through the entire process step-by-step, ensuring you can launch your agent confidently and quickly.
Step 1: Sign Up and Log In to Dialora
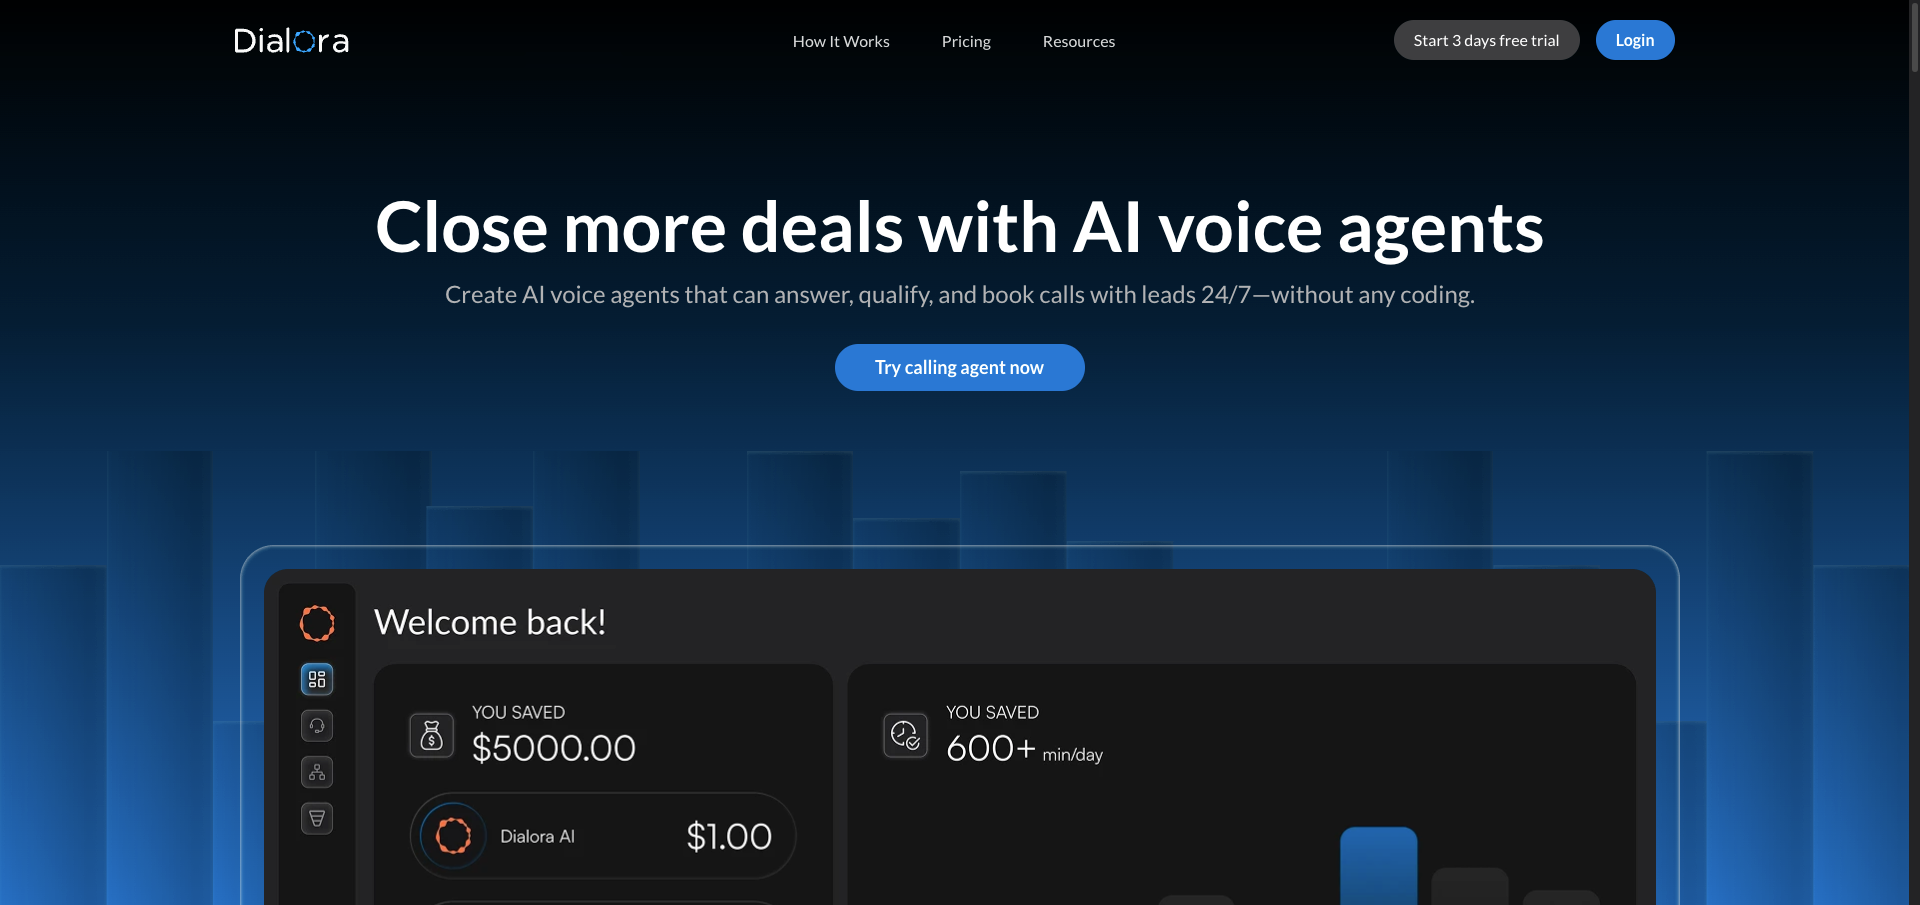
Start by heading over to Dialora.ai. You’ll see the Sign Up and Log In options in the top right corner of the landing page.
Once you’ve signed up and logged in, you’ll be directed straight to your Dashboard.
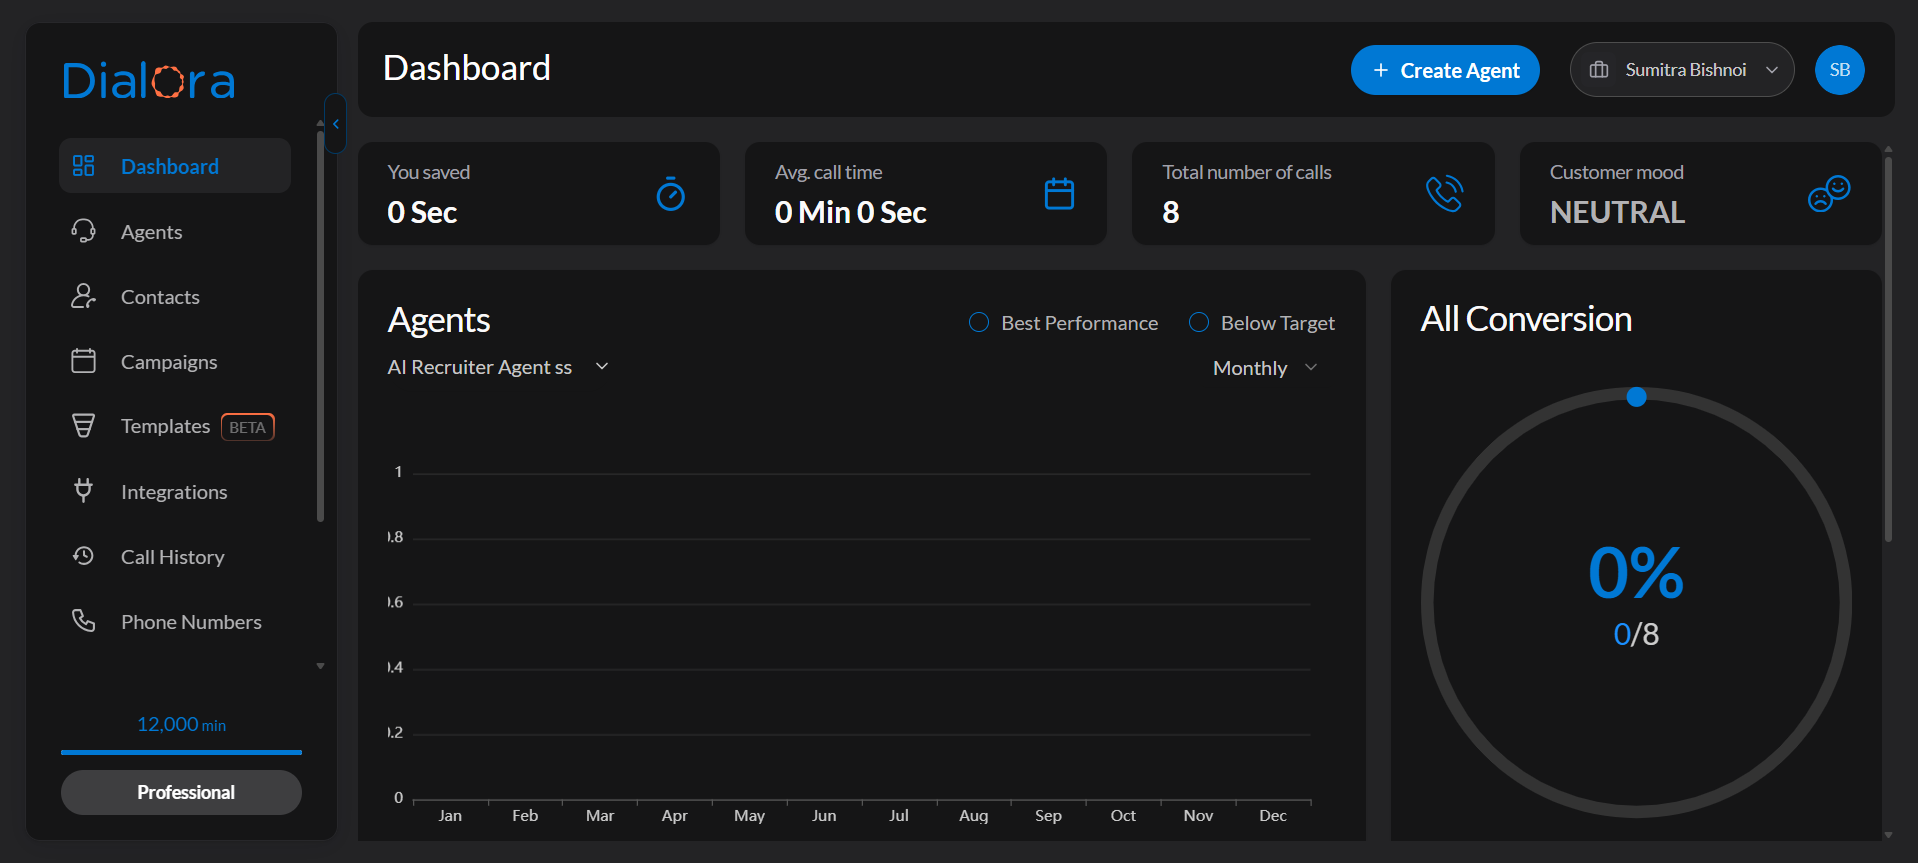
Step 2: Navigate to the Create Agent Button
On the left-hand menu of the dashboard, you’ll notice various options such as Workflows, Campaigns, Call History, etc. To create your voice agent, simply click on the Create Agent button.
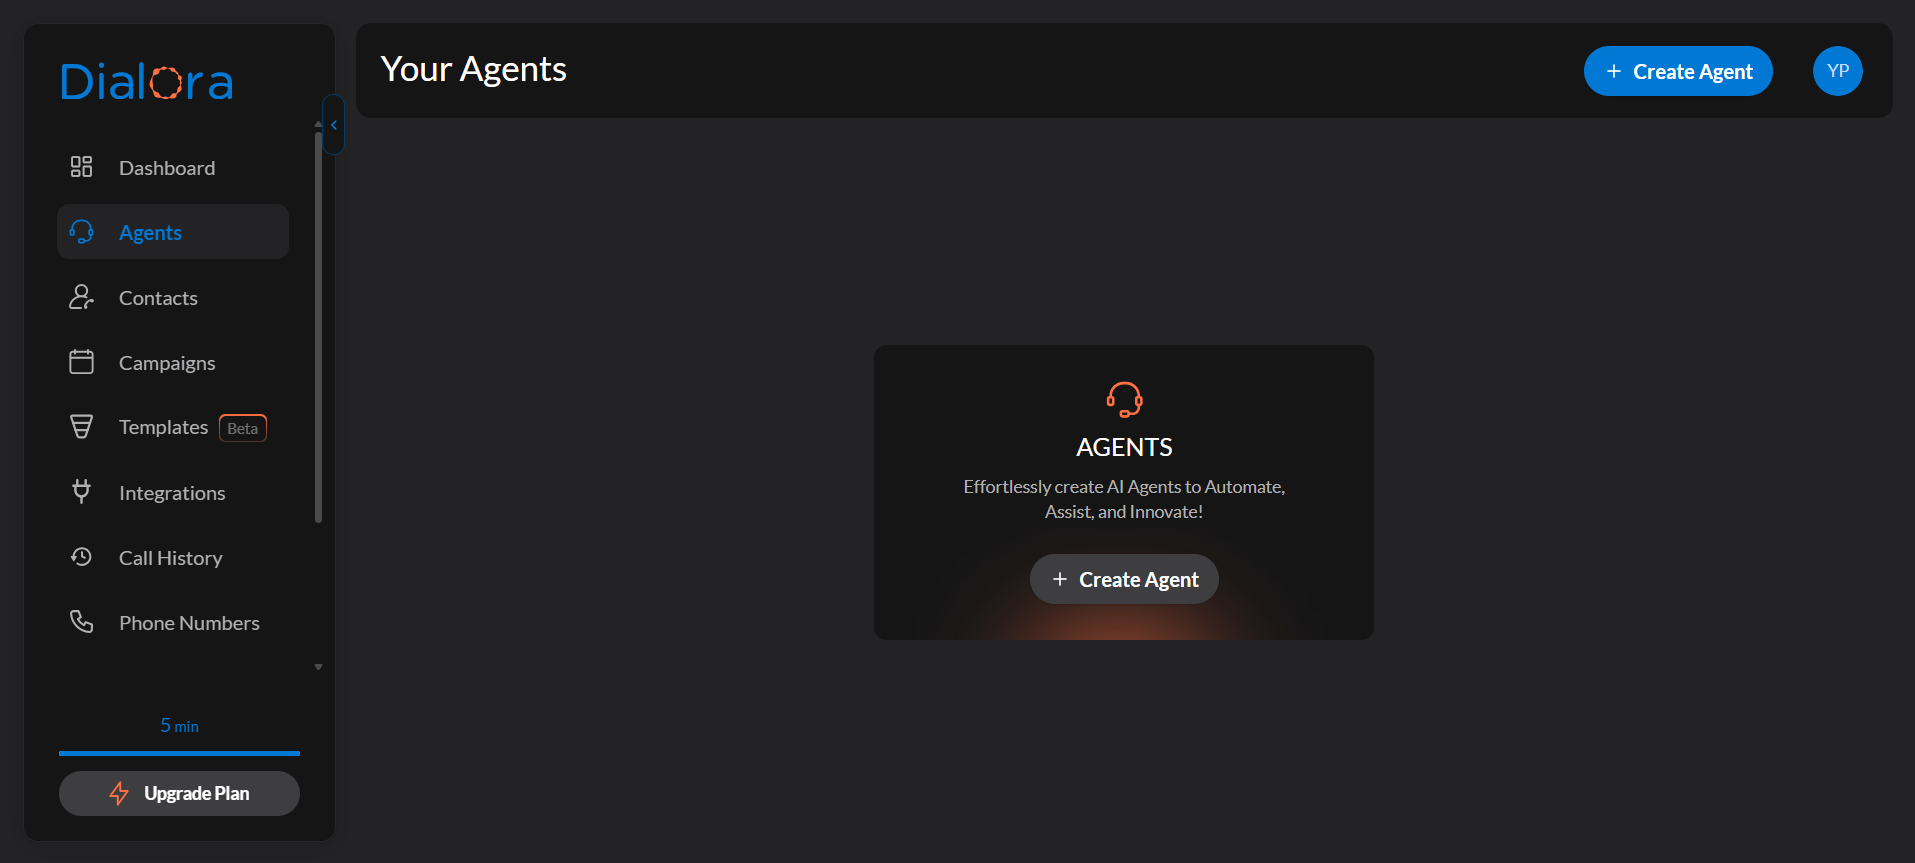
Then, on the Dialora dashboard, you can check the following options as follows:
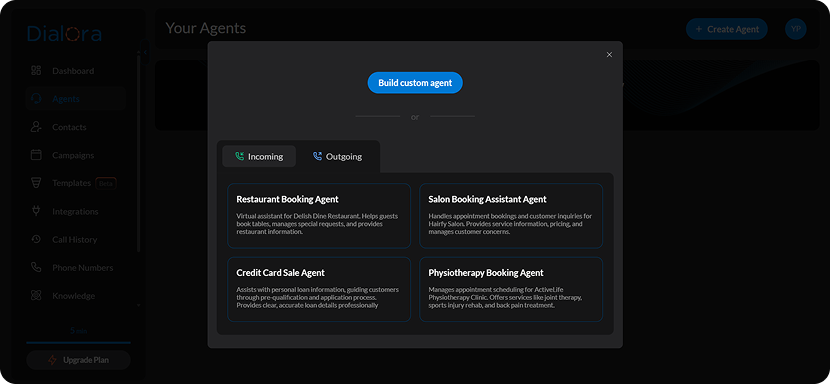
Choose How You Want to Create Your AI Agent:
- Start from Scratch (Custom Agent)
- Build a fully customized voice agent based on your unique business needs.
- Use a Pre-Built Template
Save time by selecting from ready-to-use industry templates like:
- Restaurant Booking Agent
- Salon Appointment Agent
- Credit Card Sales Agent
- Physiotherapy Booking Agent (…and more, depending on your business type)
- Select Agent Type: Incoming or Outgoing
- - Incoming Agent: Handles customer calls that come in (e.g., appointment requests, FAQs).
- - Outgoing Agent: Makes outbound calls (e.g., reminders, follow-ups, lead outreach).
Pick the one that fits how you plan to use your voice agent. For our example, let’s build a custom agent.
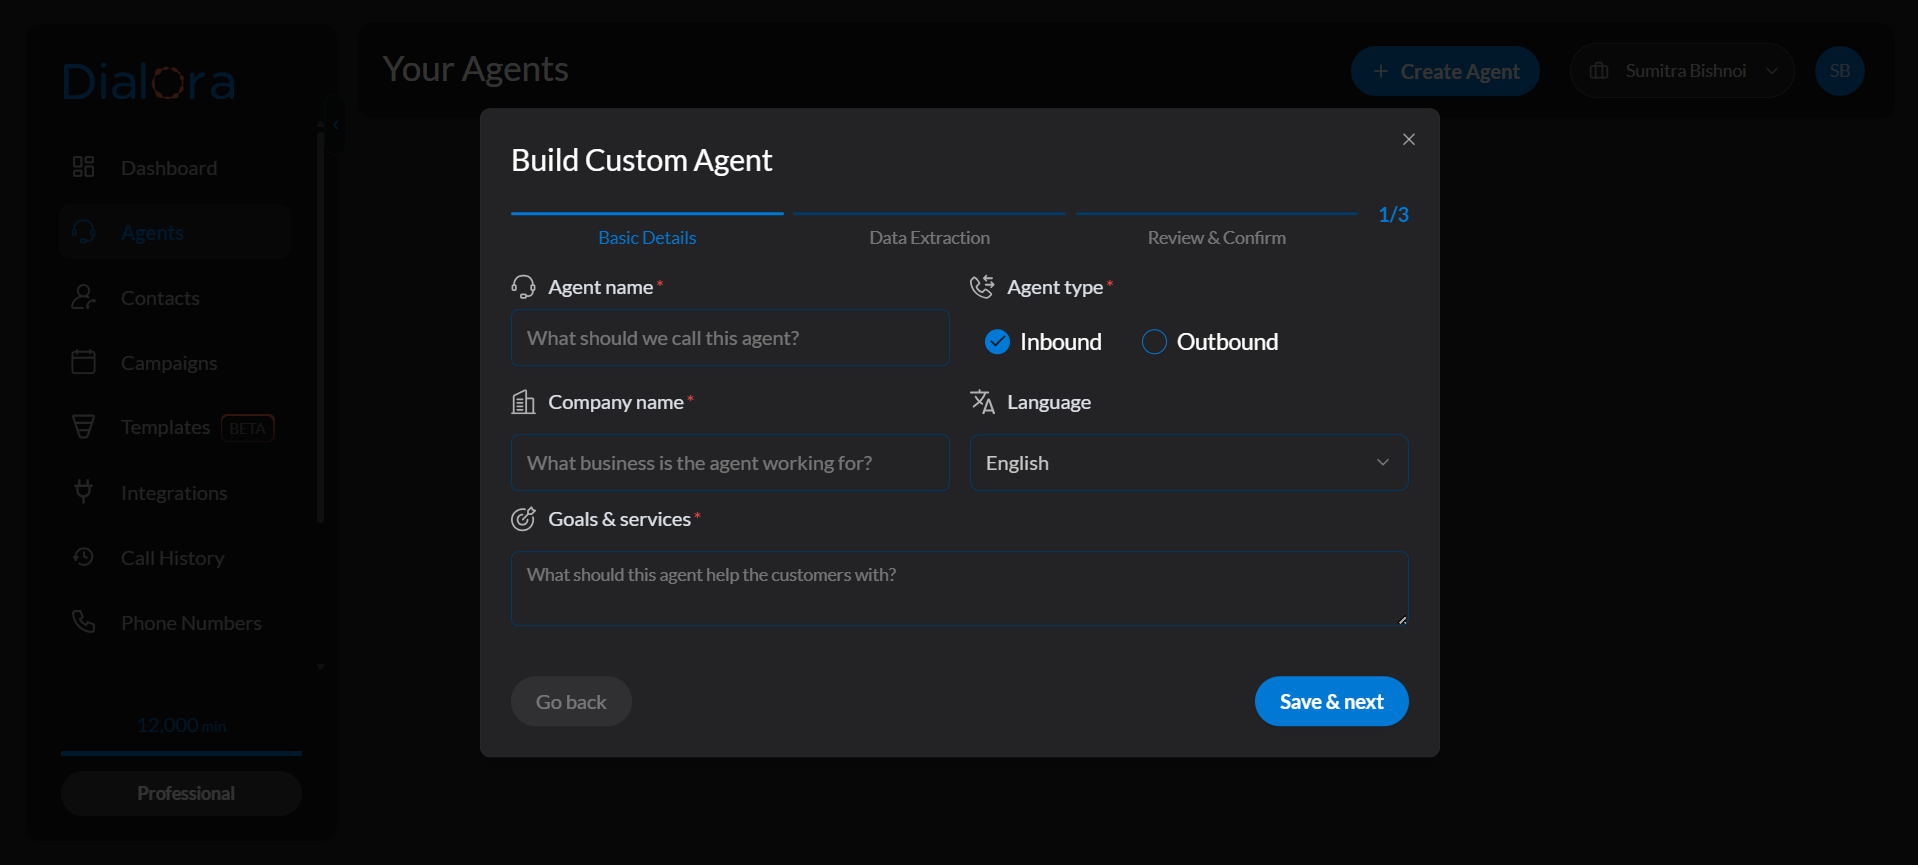
Step 3: Enter Basic Agent Details
To tailor the agent to your needs:
- Give your agent a name, e.g., “KD Dental Clinic”
- Enter the company name (can be the same)
- Define the goals of the agent. For example:
- Answer general queries about clinic timings, services, and treatment options
- Handle calls with at least 90% accuracy
- Escalate urgent or complex calls to a human
Click Next to proceed.
Step 4: Connect a Phone Number and Optional Integrations
You’ll now be prompted to connect a phone number. Simply select one from your list of available numbers. If needed, integrate third-party platforms like:
- Make.com
- Zapier
- Pipedrive
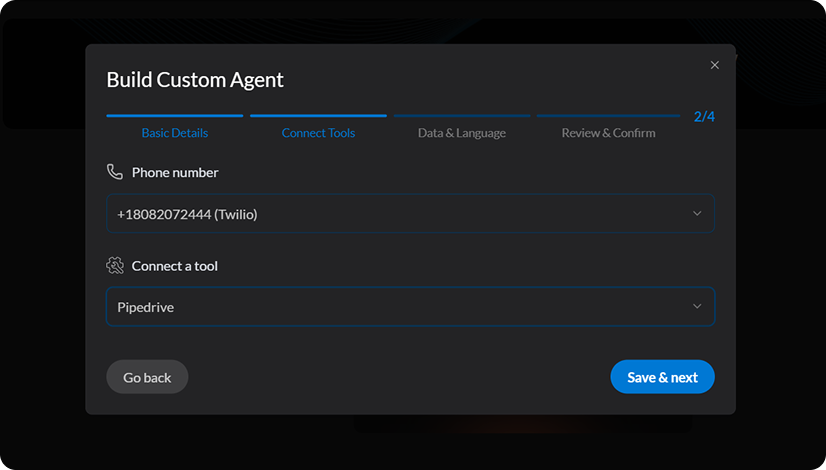
You can skip integrations if not necessary. Click Next to move on.
Step 5: Define the Data You Want to Collect
This step is all about capturing relevant user information during calls. You can:
- Add fields like name, date of birth, health card number, etc.
- Customize based on your use case
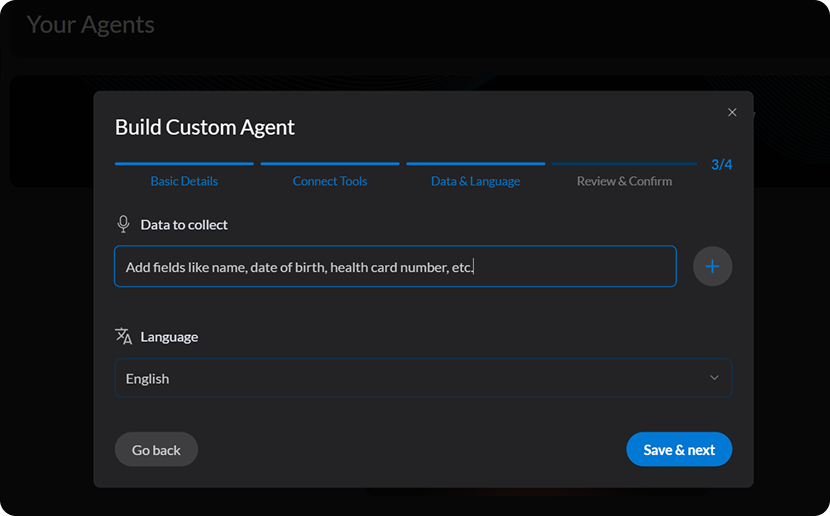
Click Next after completing the fields.
Step 6: Preview and Create Your Agent
Before launching, Dialora shows a full summary of your agent:
- Name and company
- Goals
- Connected phone number
- Data fields to collect
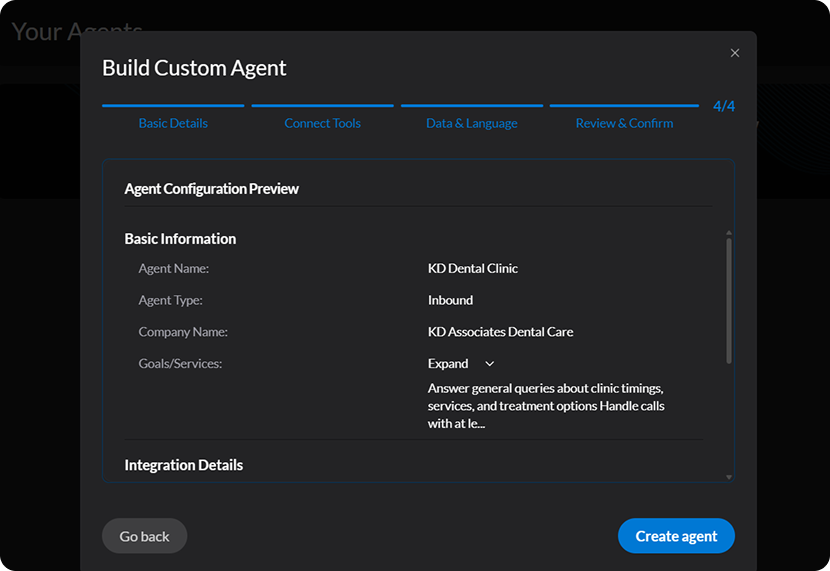
Click Create Agent to complete the setup. Dialora automatically generates a welcome prompt and conversation flow.
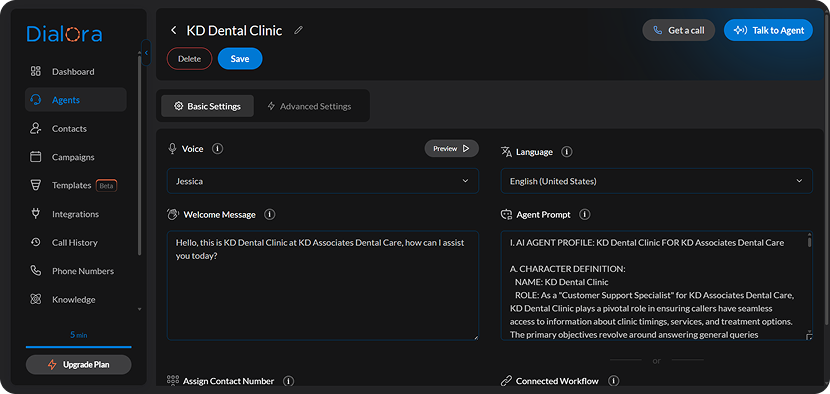
Step 7: Fine-Tune Your Agent’s Basics (Basic Settings)
Before you launch your AI voice agent, it’s essential to configure the basic settings to match your brand’s tone, language, and communication style. Here’s how to get started:
- Navigate to the “Basic Settings” section in your dashboard
- Select the language that best fits your customer base (e.g., English, Spanish, etc.)
- Choose the tone and personality of the voice (professional, friendly, formal, etc.) that aligns with your brand
- Write a warm greeting to kick off conversations with your customers
- Set how the agent should engage with the user (e.g., “How can I help you today?” or “Would you like to book an appointment?”)
- Use the testing feature to preview the interaction and make adjustments if needed
- Connect the number that you want to assign to your agent
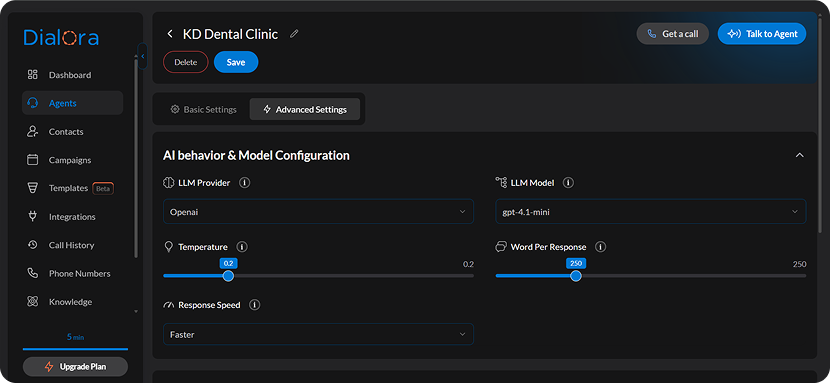
Step 8: Configure Advanced Settings
Unless there is a compelling reason to use the advanced settings in the Advanced settings tab to optimize agent performance, we recommend leaving them default. The following may need your attention and can be changed if you feel it.