How to Upload Contacts in CSV Format
Uploading your contacts to Dialora is quick, but you need to follow a specific format to ensure everything works smoothly.
CSV Format (First 4 Fields – Mandatory)
Use this exact structure for the first 4 columns in your CSV file (no extra spaces):

After these 4 fields, you can add more columns if needed: custom tags, notes, preferences, etc.
Steps to Upload Contacts in Dialora
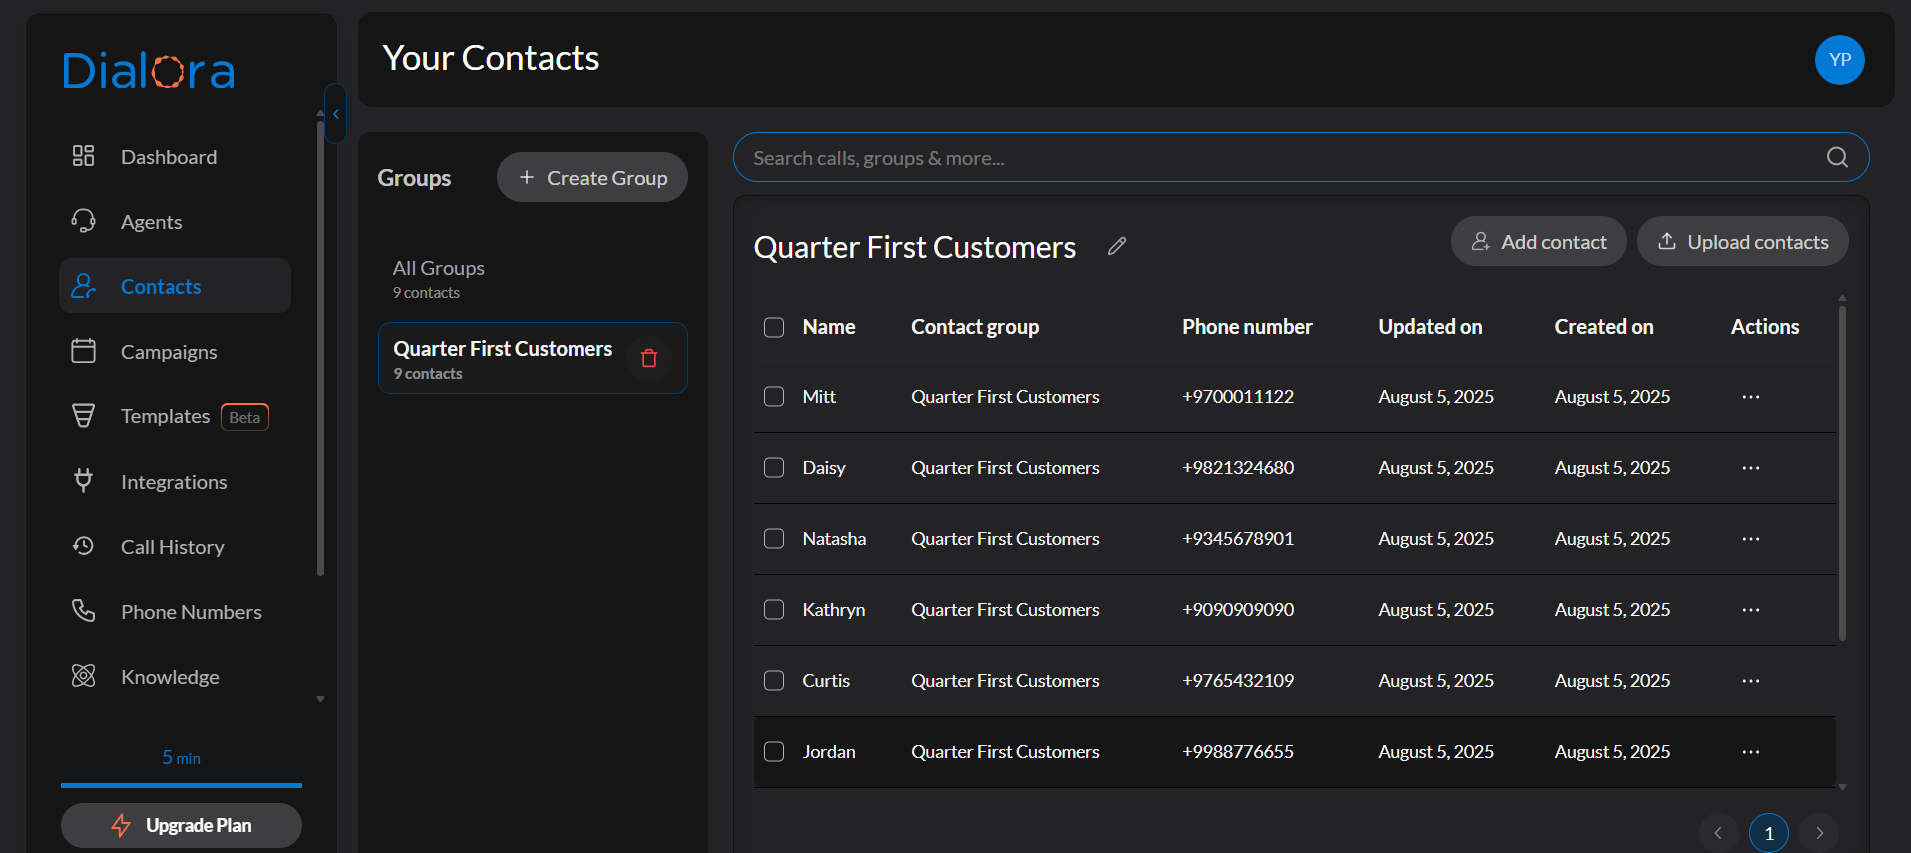
Step 1: Go to the Contacts Tab
Log into your Dialora Dashboard and click on the Contacts section.
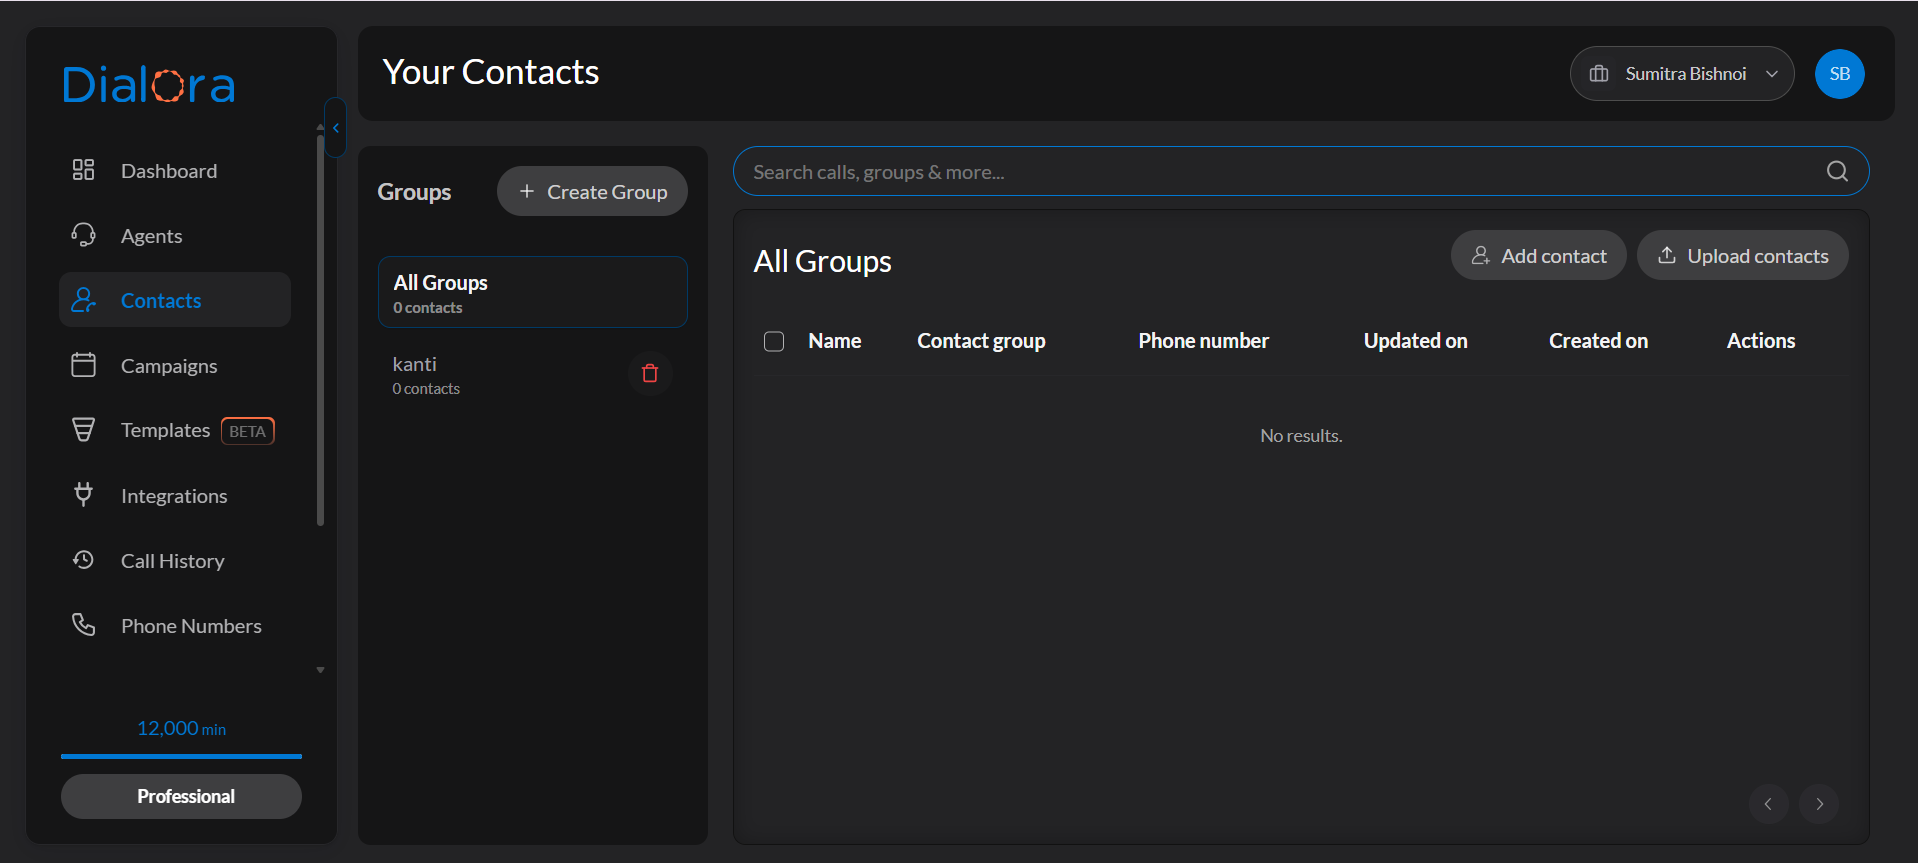
Step 2: Create a Group
Under the Groups tab, click Create Group.
For example, name it: QuarterFirstCustomers (You can name groups based on region, campaign, or segment type.)
Step 3: Upload Your CSV File
On the right side of your screen, you’ll see two options:
- Add Manually – add one contact at a time
- Upload Contacts – bulk upload via CSV
Step 4: Click “Upload Contacts”
A pop-up will appear asking you to upload your CSV file.

Step 5: Select Your File & Confirm
Choose the correctly formatted CSV from your system and confirm. Your contacts will be imported and sorted into the group you selected.