How to Set Up Cal.com Integration with Dialora
Follow these steps to connect your Cal.com calendar with your Dialora voice agent for real-time appointment scheduling and updates.
Step 1: Get Your Cal.com API Key
- Log in to your Cal.com account
- On the left-hand side panel, scroll to the bottom and click on Settings.
- In the new dashboard, look at the left panel again and click on Developers.
- Under the Developer section, click on API Keys.

- Click on Create API Key, give it a name (e.g., Dialora Integration) and generate the key.
- Copy the generated API key. You’ll need it for Dialora.
Step 2: Connect Cal.com with Dialora
- Log in to your Dialora dashboard.
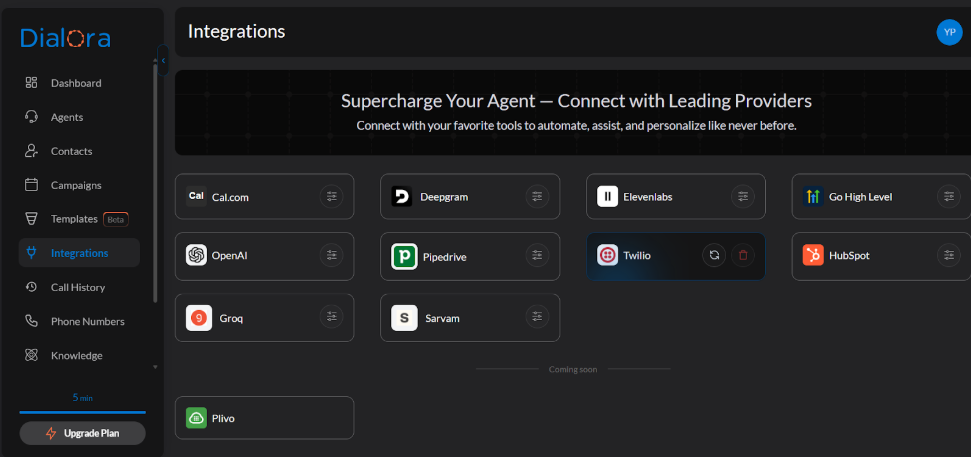
- Go to the Integrations tab in the main navigation.
- Find Cal.com in the integrations list and click on it.
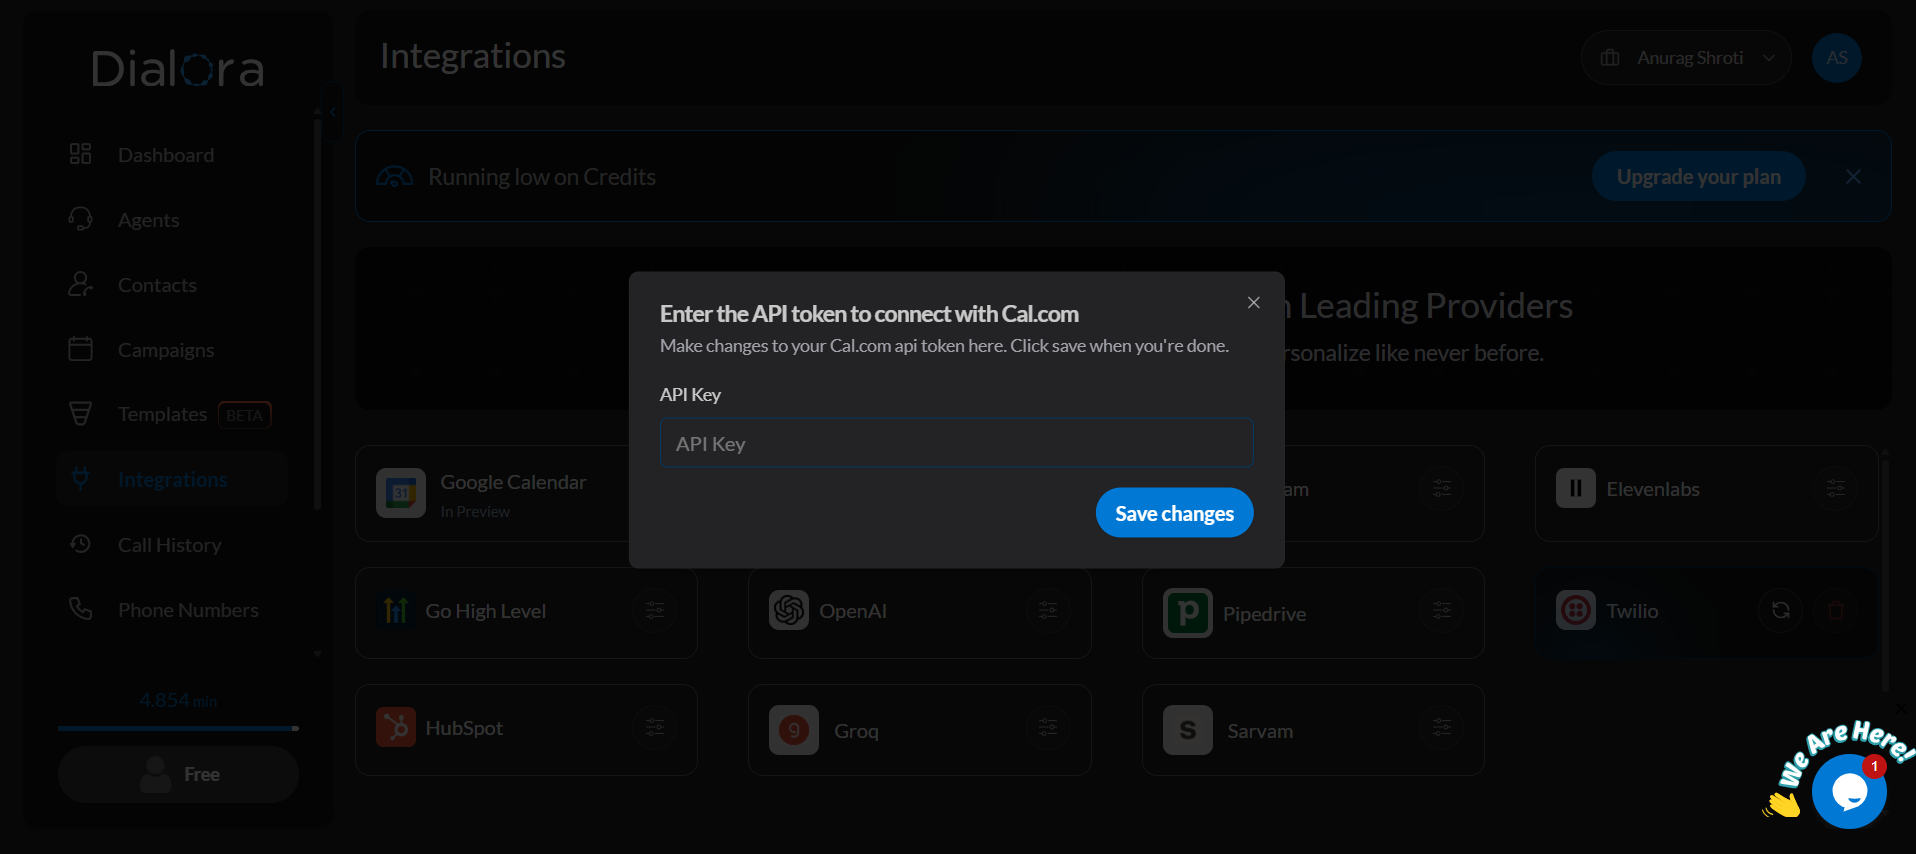
- Paste the API key you copied from Cal.com.
- Click Save Changes.
Your Cal.com account is now linked with Dialora.
Step 3: Power Your Agent with Cal.com
- In Dialora, go to the Agents section and select the voice agent you want to connect to Cal.
- Click on Advanced Settings.
- Scroll down to the section called Data Integration & Updates.
- Click on the Cal.com menu.
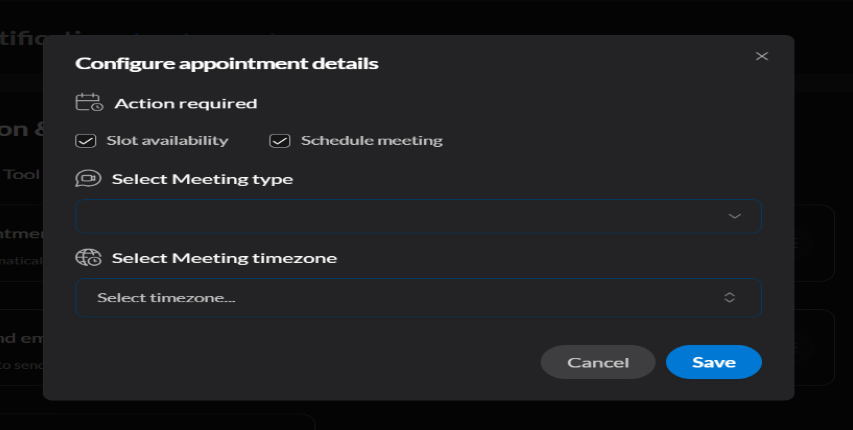
- Now fill in the meeting details: - Preferred meeting times - Time zones - Any custom rules for availability
Once configured, your AI agent will automatically schedule appointments through your Cal.com account no human coordination needed.