How to Create a Custom Workflow in Dialora
A workflow gives your agent a structured call instead of one open-ended prompt. You lay the call out as connected nodes and the agent moves between them as the conversation progresses.
Prompt or workflow?
| Prompt-driven agent | Workflow agent | |
|---|---|---|
| Best for | Open-ended conversations — support, FAQs, general reception | Calls with a required sequence — qualification, intake, scripted booking |
| Behaviour | One prompt governs the whole call | Each node does one thing, and you control the order |
| Control | The model decides the flow | You decide the flow |
Start with a prompt. Move to a workflow when the call has to reliably cover specific steps in order.
Step 1: Open the workflow builder
- Log in to your Dialora dashboard.
- Click Workflows in the left panel.
- Click Create Workflow.
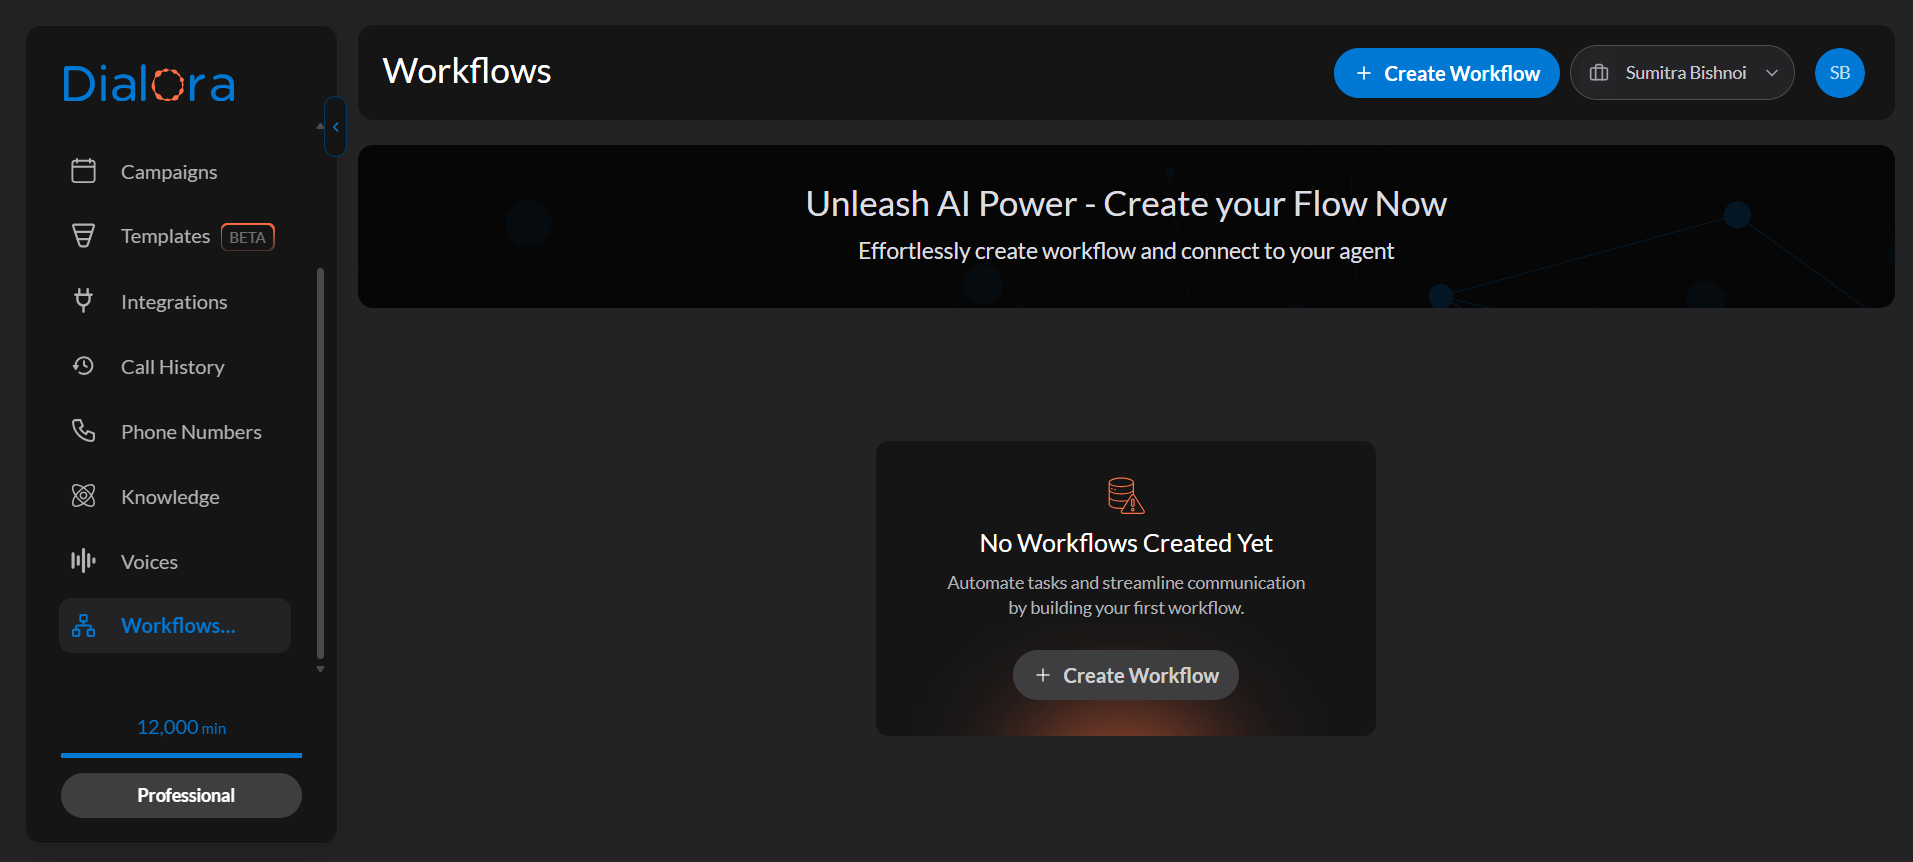
Step 2: Start from the root node
Every workflow opens with a root Welcome Message node — what the agent says when the call connects.
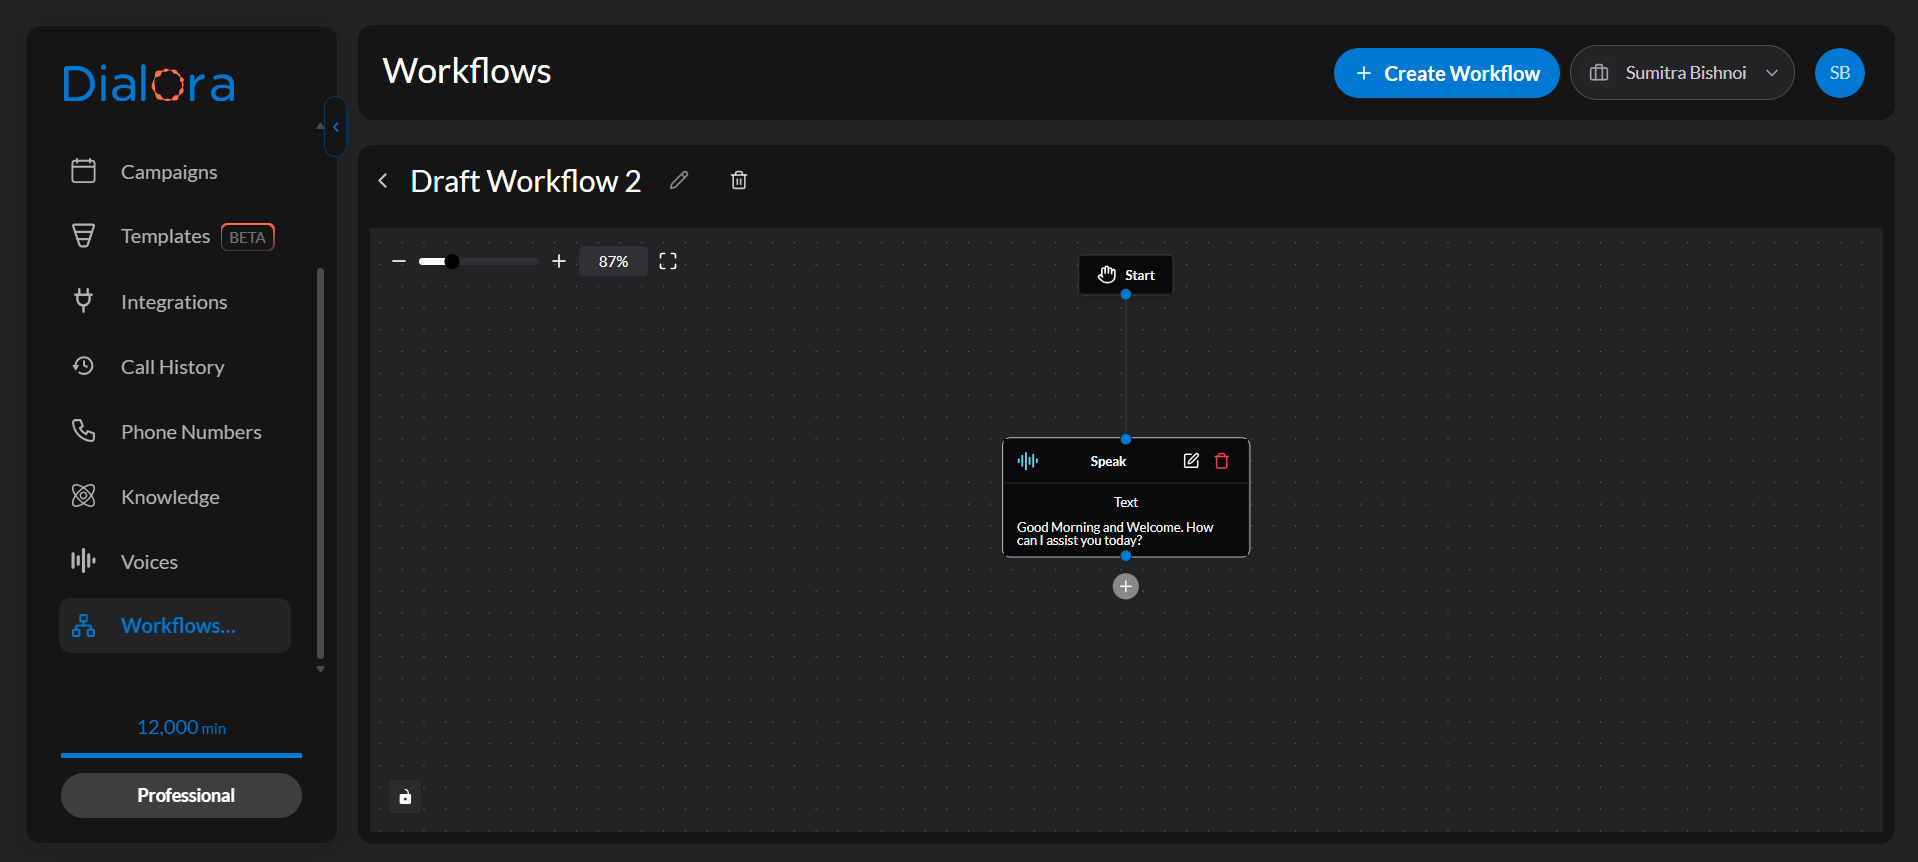
Click the + under a node to add the next step.
Step 3: Choose what happens next
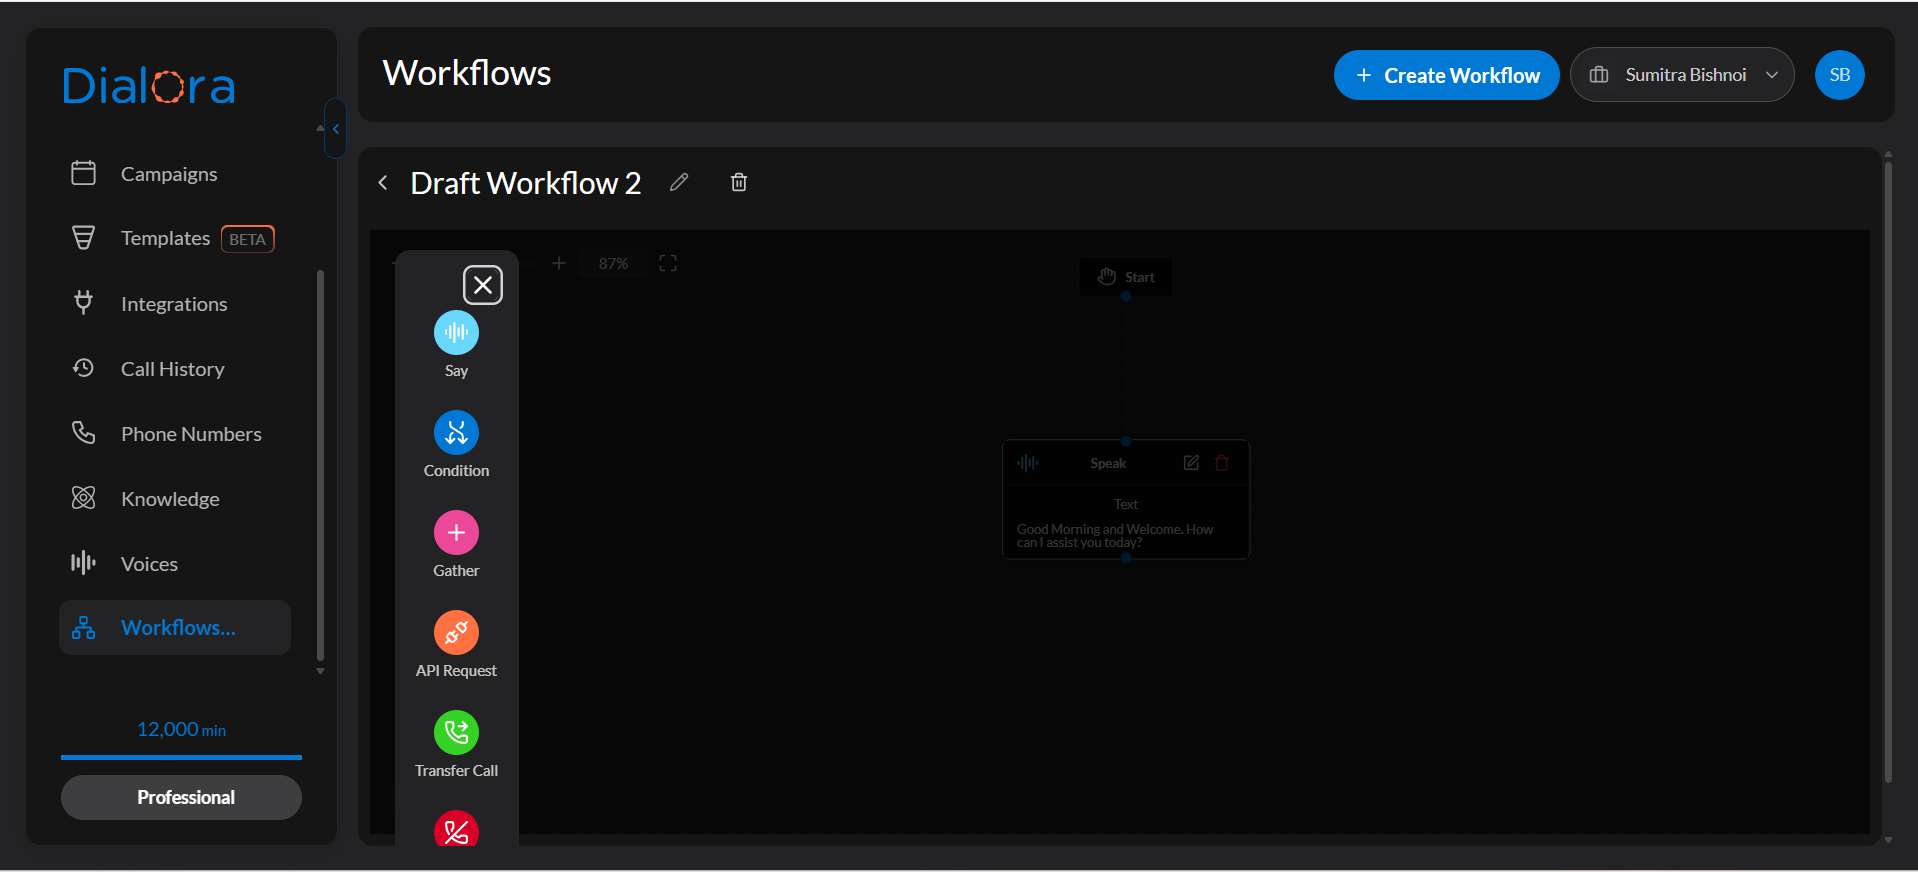
| Node | What it does |
|---|---|
| Say | The agent speaks. Either fixed text, or a prompt the model phrases itself. |
| Gather | Asks for specific information and captures it into named parameters. |
| Condition | Branches the call — each condition routes to a different node. |
| API Request | Calls an external API mid-conversation and routes on success or failure. |
| Transfer Call | Hands the call to a phone number. |
| End Call | Ends the call with a farewell message. |
Using the Say node
Click Say, then Edit, and enter what the agent should say at this point.
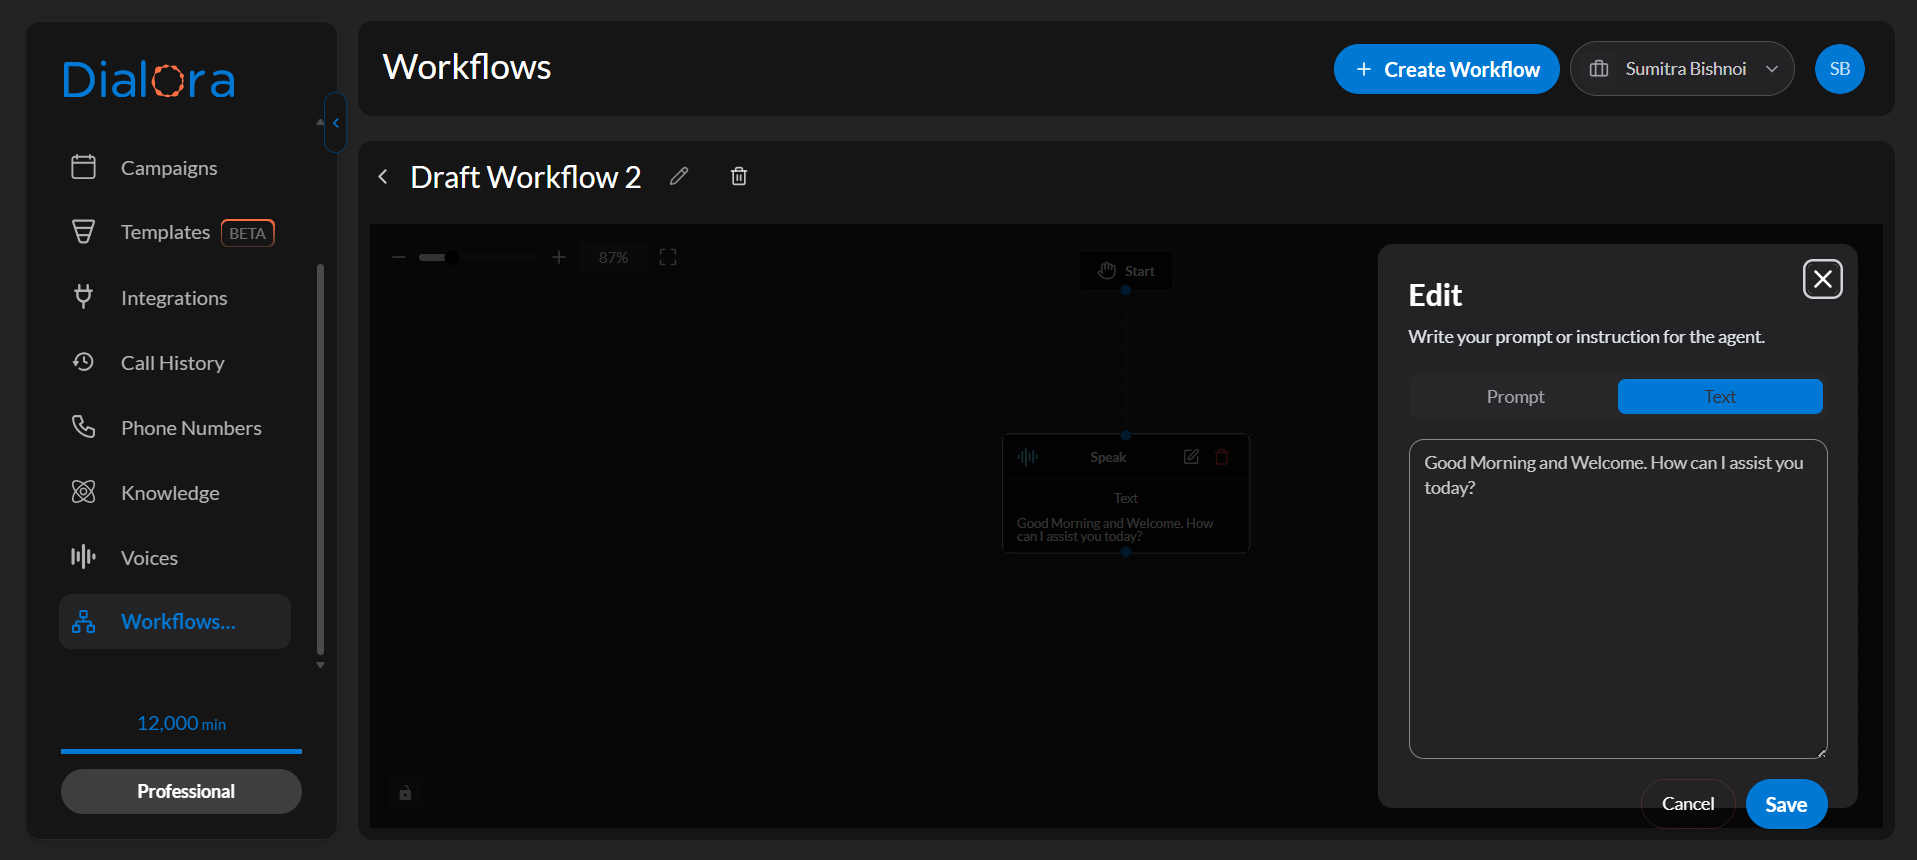
You have two modes:
- Fixed text — the agent says exactly this. Use it for disclosures, legal language, and anything that must be word-for-word.
- Prompt — you describe what to convey and the model phrases it. Use it when natural variation sounds better than a script.
Using Gather to collect information
Use Gather when you need specific details — name, email, service type, appointment date.
Each parameter takes:
- Name — letters, numbers, and underscores only (no spaces or hyphens)
- Type — the kind of value you expect
- Description — tells the agent what it’s looking for and when
- Required — whether the agent must get this before moving on
The agent decides what counts as an answer from your description. “appointment_date” with the description “The date the caller wants to come in, as a specific calendar date — not ‘next week’” collects far cleaner data than a description of just “date”.
Using Condition to branch
Use Condition when the call should go different ways based on what the caller said.
Each condition pairs a condition with a target node:
- “Caller is an existing patient” → Verification node
- “Caller is new” → Intake node
Cover every case your callers will actually produce, including the awkward ones. A caller who fits none of your conditions is where workflows most often fall over.
Using API Request for integrations
Use API Request to reach a CRM, booking system, or any REST API mid-call.
Configure:
- Name and description — what the call does
- Method —
GET,POST,PUT,PATCH, orDELETE - URL — the endpoint
- Parameters — each with a type and description, and which are required
- Success node — where to go when it works
- Failure node and failure message — where to go and what the agent says when it doesn’t
- Retry on fail and retry node — whether to try again, and from where
An external API will fail eventually — a timeout, a bad record, an expired token. If you leave the failure node unset, the caller gets silence at the worst moment. Set a failure message the agent can say and a node that takes a message or offers a callback.
Using Transfer Call to escalate
Add a Transfer Call node wherever a human should take over. Set the destination phone number, and optionally what the agent says before transferring.
Include the country code — see Phone Number Formatting.
Ending the call
An End Call node closes the conversation with a farewell message. Every branch should reach one, or calls end abruptly.
Tips
- One job per node. If a Say node is also asking a question, that’s a Say plus a Gather.
- Name nodes for what they achieve — “Verify existing patient” beats “Step 3”.
- Build the happy path first, confirm it runs end to end, then add branching and error handling.
- Test the branches you don’t expect, not just the ones you do.
- Terminate every path with End Call or Transfer Call.
Related
- How to Set Up Call Transfer — the tool-based alternative for prompt-driven agents
- How to Write a High-Quality Prompt